
Table of Contents
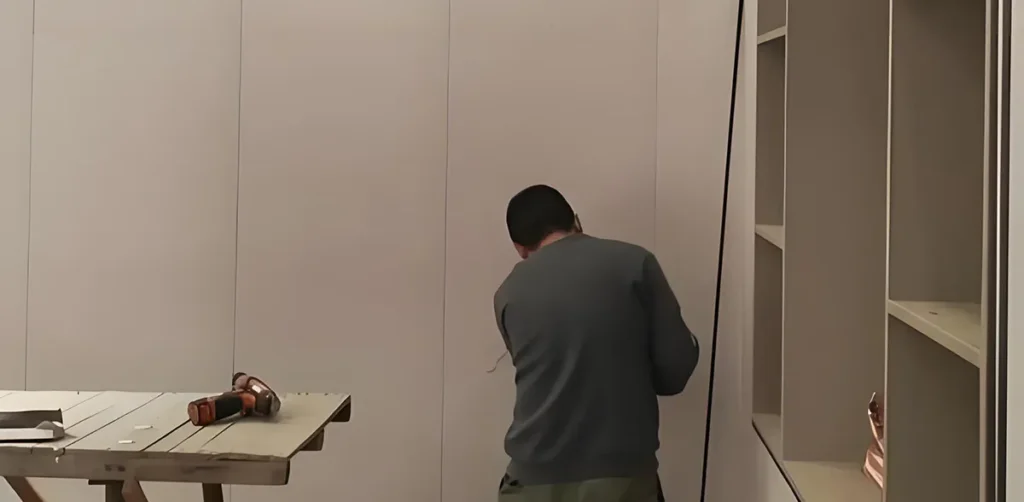
The installation sequence for bamboo-wood fiber integrated wall panels follows four fundamental principles: ceiling before walls, panels before trim, bottom-to-top, and outside-to-inside.
-
Ceiling before walls: Install the ceiling system completely before mounting the wall panels.
-
Panels before trim: Install the main panels first, followed by decorative trim or molding. Cover large surface areas first before executing detailing at corners and edges. (Note: If a vertical column is encountered, it can be seamlessly encased by cutting a precise groove on the back of the panel).
-
Bottom-to-top: Start the wall panel installation at the base of the wall and work upwards until the entire height is covered.
-
Outside-to-inside: Begin installation from the wall nearest the room entrance and work inwards. This ensures a cleaner visual impact upon entering, as any custom panel cutting is shifted to the final, less visible stages.
Custom Instrava Wood-Plastic Composite (WPC) Wall Panels
1. Preparation
-
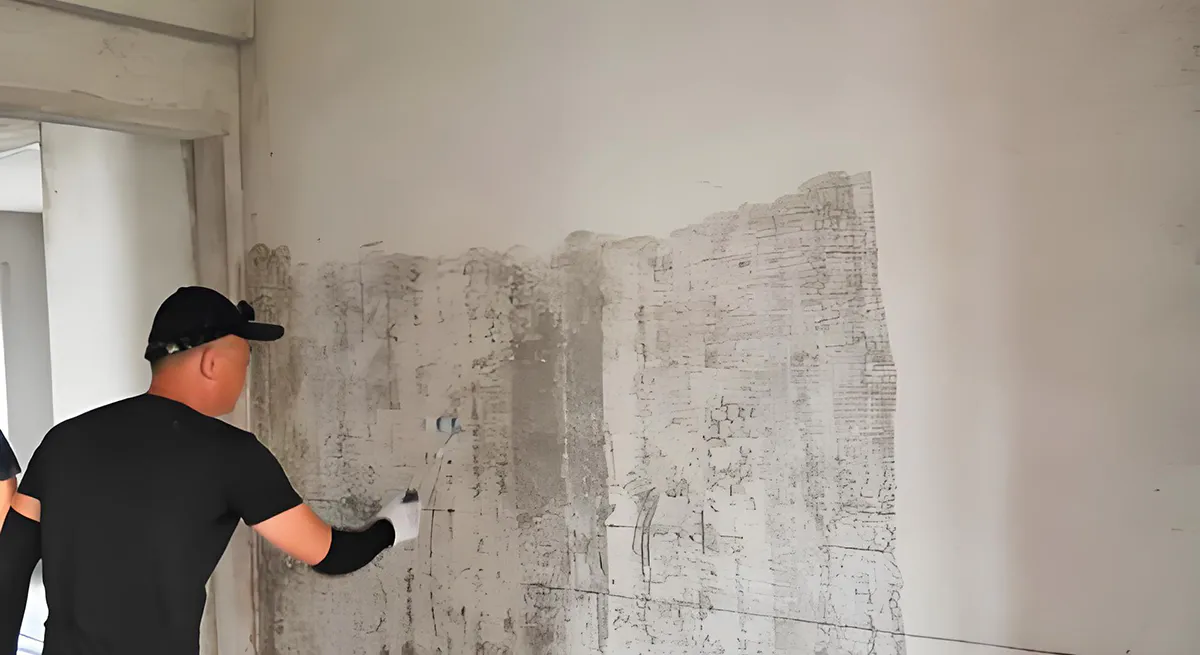
Base Surface Requirements: Ensure the wall surface is flat, dry, clean, and free of cracks or structural defects. If the wall is noticeably uneven, level it prior to installation.
-
Tool & Material Checklist: Gather an electric drill, screwdriver, spirit level, tape measure, pencil, handsaw/circular saw, and specialized fasteners.
-
Base Wall Stabilization (Optional): Apply a bonding or interface agent to the base wall to strengthen the surface and prevent future cracking or flaking.
2. Measurement and Planning
-
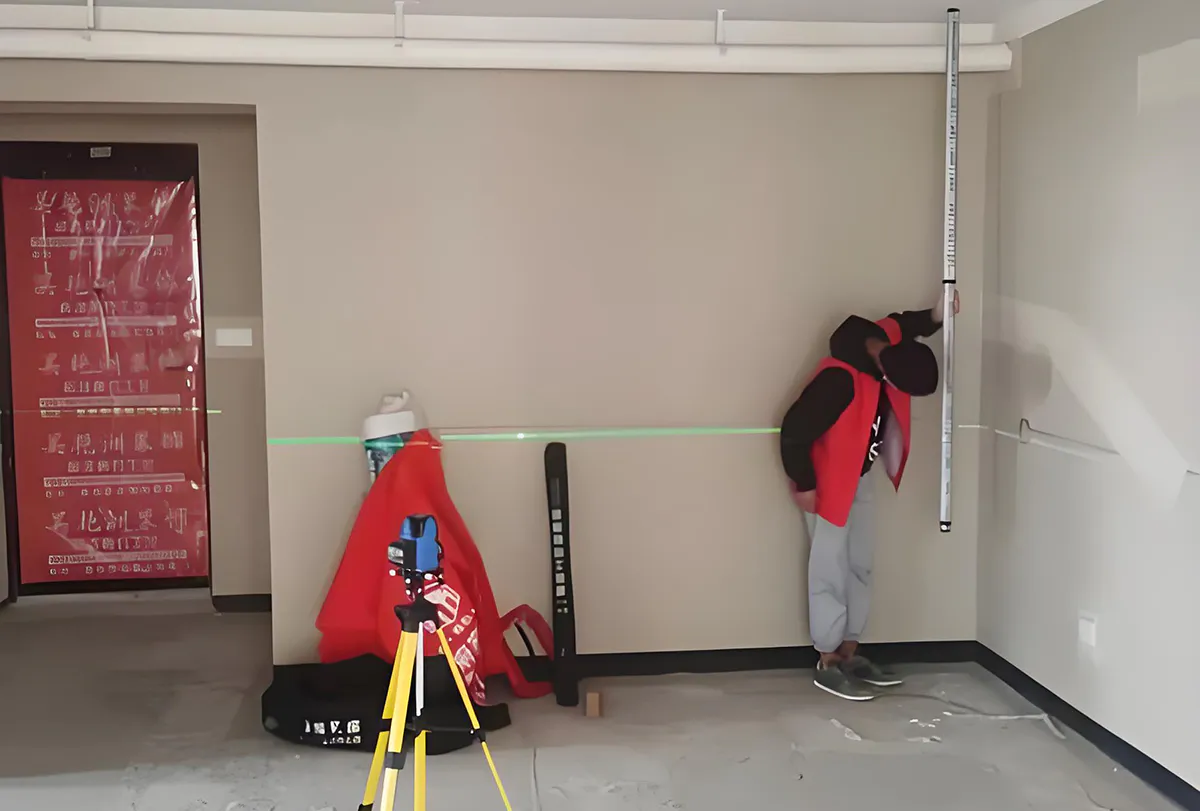
Dimension Measurement: Accurately measure the total wall height and width using a tape measure.
-
Layout Design: Plan the panel layout based on the actual profile dimensions and select an optimal starting point.
-
Alignment Strategy: To maintain clean, uniform vertical seams, always initiate installation at a room corner or adjacent to a window frame.
3. Installation
3.1. Installing Mounting Hardware
Bamboo-wood fiber integrated wall panels are typically secured using specialized furring strips (such as aluminum alloy or steel profiles) or fastened directly to the wall structure with self-tapping screws and concealed metal clips.
Install horizontal furring strips along the floor and ceiling perimeters. Ensure the vertical spacing between furring strips does not exceed 60 cm to guarantee proper structural rigidity and support.
3.2. Installing the First Panel
Insert the bottom edge of the first panel into the slot of the base furring strip or starter trim. Align its top edge with the top framework and gently push it into position. Use a spirit level to verify vertical plumbness, adjusting as necessary before securing the panel with clips or fasteners along the tongue edge.
3.3. Installing Subsequent Panels
Continue installing the remaining panels sequentially using the engineered Tongue-and-Groove interlocking system. Ensure a tight, seamless fit between adjacent panels without applying excessive force that could damage the surface film or edge profile.
Electrical Outlets & Switches: Mark precise coordinates for wall sockets, switch boxes, or plumbing stubs on the back of the panel prior to mounting. Cut accurate openings using a hole saw or multi-tool before fixing the panel to the wall.
3.4. Finishing Touches
Once all main wall panels are securely installed:
-
Attach matching perimeter trim, skirters (baseboards), crown moldings, and corner profiles (inner/outer corner trims) to conceal panel edges and expansion gaps.
-
Perform a full visual and physical inspection across the wall surface to identify any loose sections, reinforcing fasteners where needed.
Sourcing Instrava Wood-Plastic Composite (WPC) Wall Panels
Summary
The assembly of integrated bamboo-wood fiber wall panels is engineered for rapid, dry-method construction. Panels can be mounted directly onto raw masonry or stud walls in unfinished buildings, allowing a two-person carpentry crew to finish entire rooms efficiently without wet plastering, mudding, or sanding.